Update: I have created another page for custom drive icons in Mac OS X
If you’re like most people, you have accumulated a large number of removable USB storage devices over the years, from flash-based thumb drives to external hard disks. I have seven of these things sitting on my desk or in by laptop bag right now! But Windows XP and Vista uses the same icon for all of them, adding a few seconds of examination every time I try to select one. Icon confusion can cause problems too, like the time I accidentally saved a presentation to my big desktop backup drive instead of the thumb drive I headed out of the office with!
![]()
Before: Everything looks like a generic external book type thing.
But I’ve stumbled on a great method to create easy to locate the right drive using free software and the power of Google. I create a custom drive icon that looks like the physical drive in Windows, so I can see which is which at a glance. Here’s how!
![]()
After: Aah, now I can see which removable drive is which. Shame about that iPhone icon, though…
- Install a copy of Icon Sushi, a small, free icon editing application.
- Locate a nice image of your drive and save it to your Pictures folder. I use Google’s image search function and key in the brand name for the drive in question. I’ve usually been able to locate a good white-background oblique shot in no time – the manufacturer or a reseller like Amazon.com or Buy.com often has just the right picture.
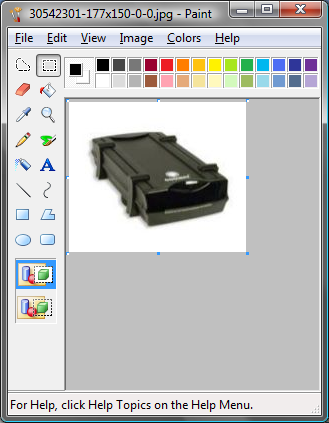
- Convert the picture to a PNG file using the built-in Microsoft Paint program. Open it in mspaint and immediately select “File”, “Save As…”, drop down the list and select “PNG (*.png)” as the type, and click “OK”.
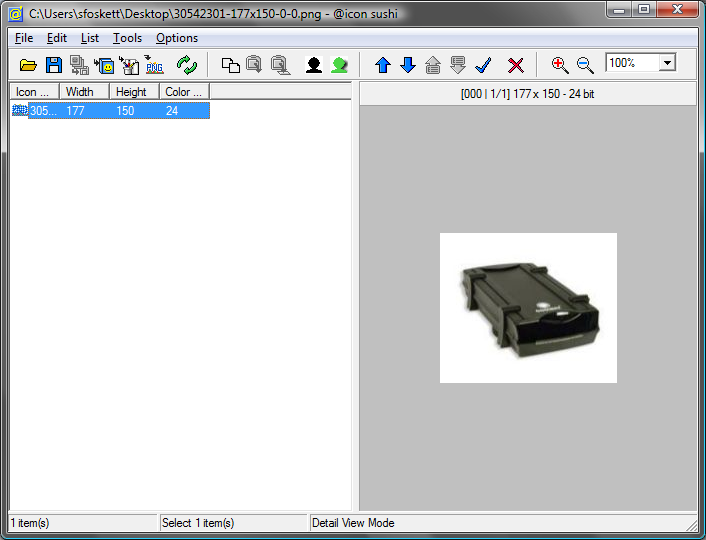
- Fire up Icon Sushi and open your new PNG file. The menus are kind of confusing, but follow along here and you’ll be fine.
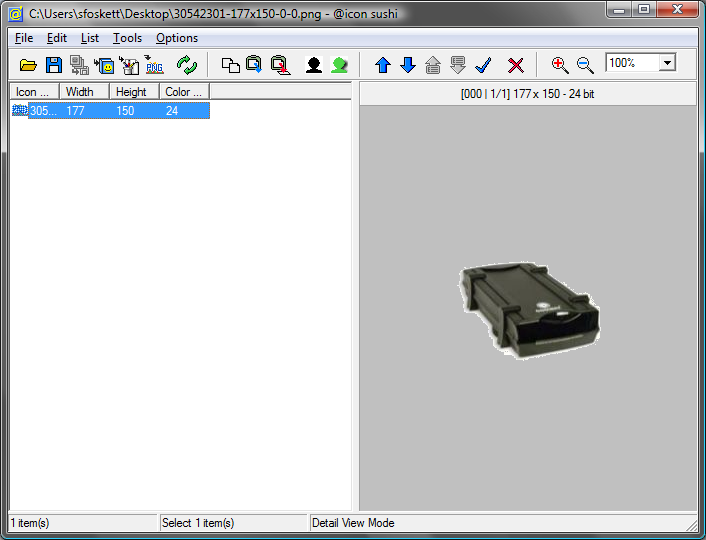
- Make sure the first line on the left (under “Icon”) is selected. Under “Edit”, select “Edit transparency mask”.
- In the “Edit transparency mask” window, select the color dropper (third from left) and click the background of the image. This will select most of the background (as seen below) and might even be enough for your image.
- If your picture is like my example, there are still lots of off-color areas in the transparency mask. You can get rid of many of these easily by selecting “Use color picker continuously” and clicking on each area in turn. Use the crayon (far left icon) to select individual pixels if you need to.
- Once the background is cleaned up to your satisfaction, click “OK” to return to the main window.
- Now we will save the icon to the target drive. Under “File”, select “Save as Single Icon(s)…” Locate your removable drive (it is connected, right?) under Computer and save the file with a descriptive name. I like to use the model name, so in my example, I saved it as “H:\Coolmax CD-311.ico”.
- Now we tell Windows to use this icon for this drive. Fire up Notepad and enter the following text, substituting your own drive icon name for mine:
- Save this as “autorun.inf” in the root directory of the removable drive. In my example, this would be “H:\autorun.inf”. If there’s already an autorun.inf on the drive, take a look at it and see if you can add the “icon” line to it.
- Now eject the drive and re-insert it. You should see your new icon in “My Computer” – much better, don’t you think?

![]()
![]()
![]()
[autorun]
icon = .\Coolmax CD-311.ico
I’ve had great luck using this with thumb drives, memory cards, and removable hard disks. But it doesn’t work with iPods, digital cameras, and other such things that show up with bogus icons. I’d love a suggestion if you know how to modify these!
Also, note that the icon goes with the drive. If you’re a psycho like me that swaps bare disk drives in and out of an enclosure, you might want to use an icon that identifies the drive. I’ve added a big numeral for the capacity on top of the enclosure image for my bare drives.
Finally, don’t buy that Coolmax CD-311 USB/FireWire/e-SATA enclosure I used in my example. The FireWire is flaky. It’s going back to Fry’s!

Starting with the ‘Saving a drive icon in MS Paint’ thumbnail, there are only thumnails, and no large pictures are pointed to by the thumbnails.
Starting with the 'Saving a drive icon in MS Paint' thumbnail, there are only thumnails, and no large pictures are pointed to by the thumbnails.