My son recently came home with a tough school assignment: Build a presentation or diorama of a Roman aqueduct. As you can see from the pictures below, the finished project was way beyond anyone’s expectations. And I’m happy to report that my son was able to accomplish every element of construction with my guidance and assistance.
One of the coolest things about being a dad is getting involved in school projects again. As a kid, I always wanted to build the awesomest diorama or model but just didn’t have the skills. Now, I really enjoy helping my kids to take their projects to the next level. As my son said, “anything worth doing is worth overdoing!” He attributed that to Mythbusters, though Mick Jagger apparently said it first…
Grant started by researching Roman aqueducts and architecture in the library and online. He discovered the pertinent facts: Aqueducts carried water a great distance using gravity, but were covered pipes or trenches for most of their length and only included the familiar soaring stone bridges when absolutely necessary. At the city, the aqueduct emptied into a tank for local distribution of water.
We set out to demonstrate the Roman aqueduct using plastic cups at each end and clear fish tank tubing in between. The diorama itself would be a realistic representation of a high lake, a valley, a mountain, and a Roman city. I laid out the basic template and challenged him to come up with a design that would bring water from the lake to the city.
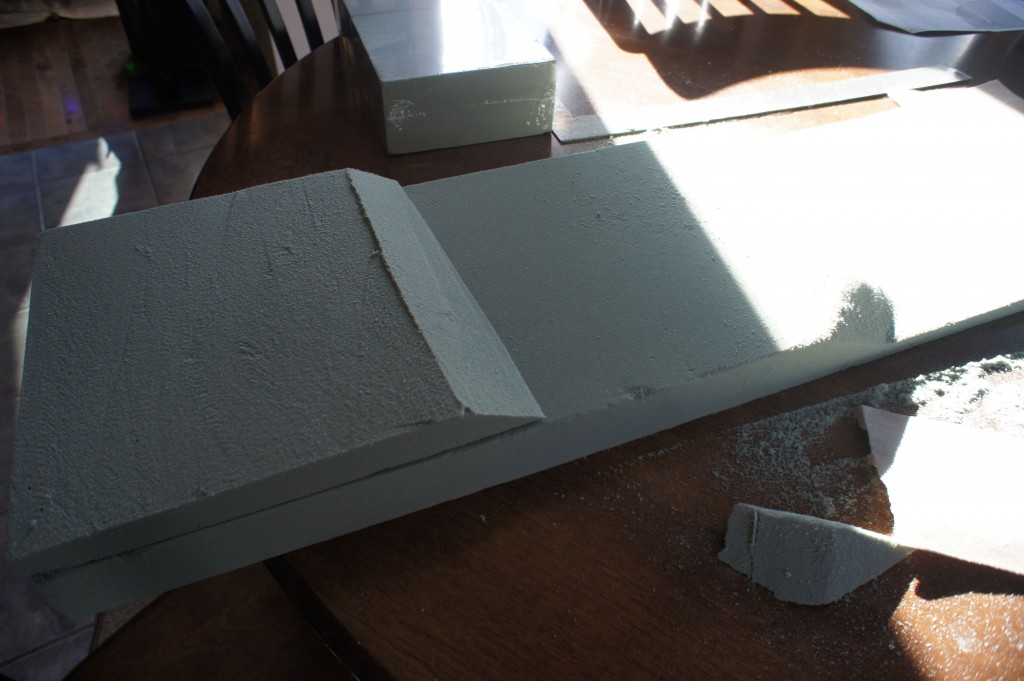
The entire diorama was constructed out of high density dry floral Styrofoamâ„¢ from FloraCraft. This is exceptionally easy to work with, inexpensive, and yields great results for projects like this. We purchased 2 large sheets of FloraCraft green foam board as well as a package of smaller blocks. It was important to me that our modeling material be safely workable by an 11-year-old, and not require any dangerous power tools. I also wanted something that would quickly show results, satisfying the impatience of youth.
FloraCraft foam does have some drawbacks, however. It is quite fragile, so we mounted hours to a wooden board. It also generates a tremendous amount of dust while being worked and sanded, so have a vacuum cleaner handy and don’t do this in the parlor! It pays to paint the entire diorama just keep the dust down. Finally, it’s extremely difficult to adhere high density foam pieces together with glue: We used Elmer’s GlueAll and toothpicks.
We began by roughly carving our landscape into one piece of FloraCraft foam board. We used a fine hacksaw for this, and were able to reuse a portion of the removed board as part of our hill.
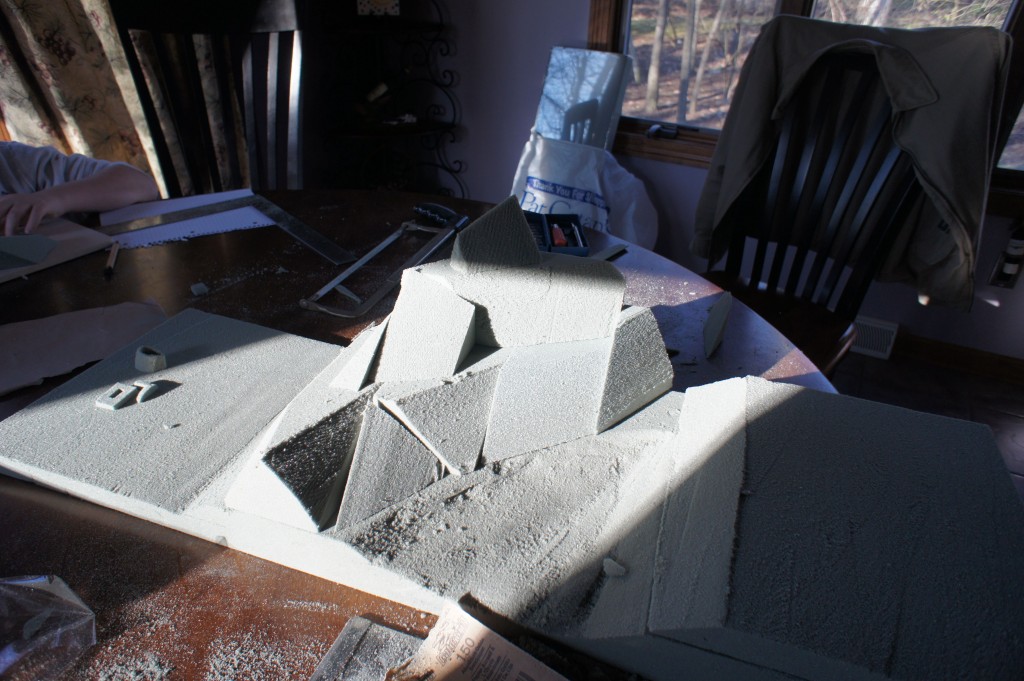
Once the rough shape was ready, we attached all of the pieces. First, we vacuumed off as much dust as we could. Then, we used Elmer’s Glue All and toothpicks to adhere each piece. Once dry, it was reasonably sturdy though not entirely solid.
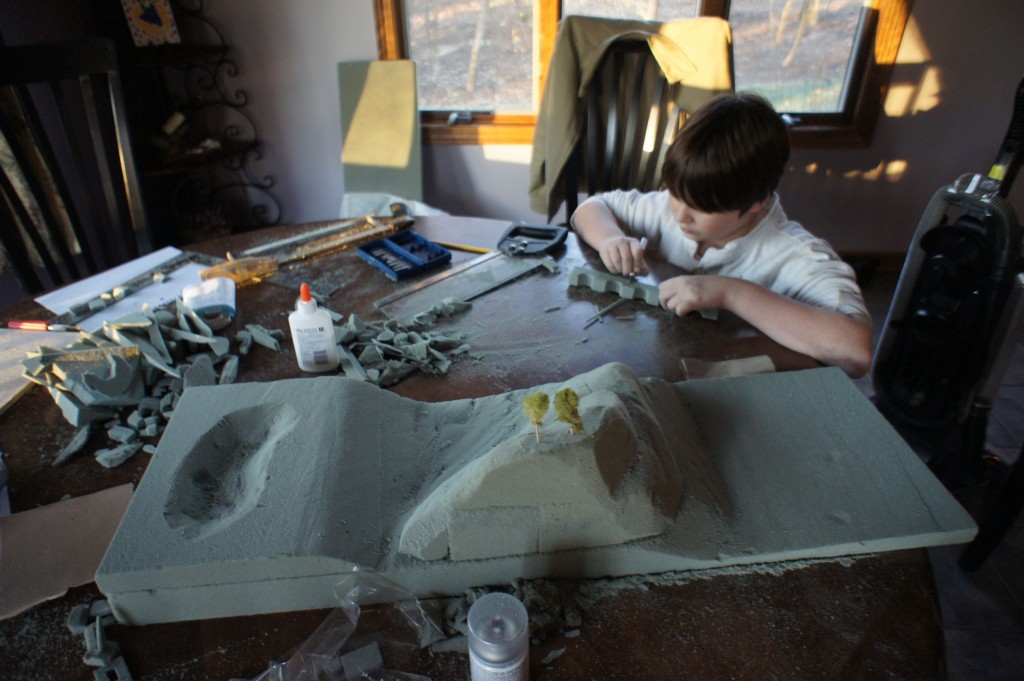
Next, Grant went at the model with some rough sandpaper to smooth out the edges and fill in the seams. He was very satisfied with the result after only a few minutes, seeing that it looked very much like a rolling, grassy landscape already.
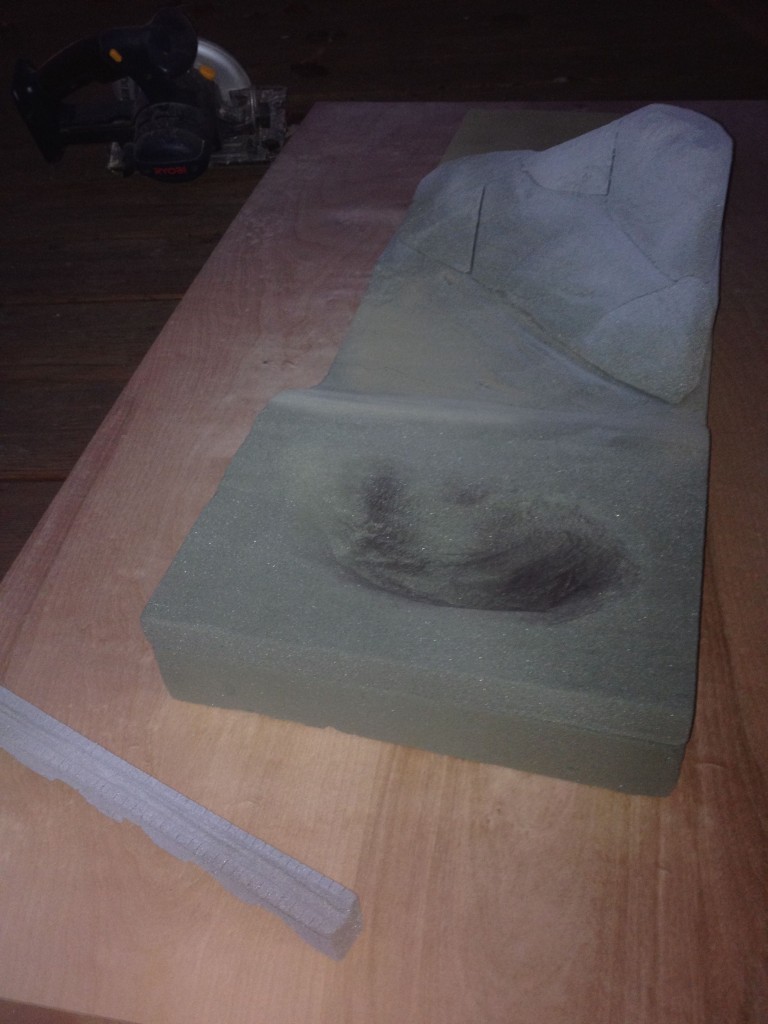
After another vacuum job, we went at the model using cans of spray paint. This serves 2 purposes: It makes the model look better to have varied coloring, and the spray paint seals in the ever present dust from construction. We used cans of black, brown, green, and red flat enamel as well as a can of clear satin enamel to seal everything in.
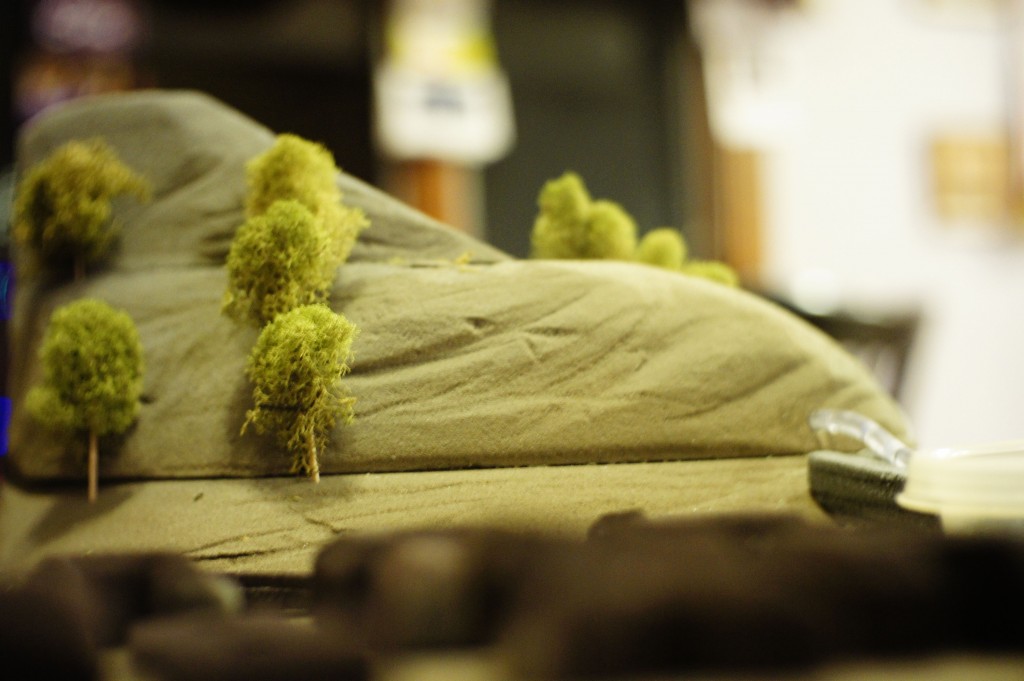
To disguise the seams, and to give an extra dose of realism, we constructed a number of trees using “reindeer basil.” I first became familiar with this material as a child, constructing trees and bushes for my model railroad. Today, it is much less expensive and wonderfully attractive. A dab of glue on the end of a toothpick secures the foliage to the tree trunk.
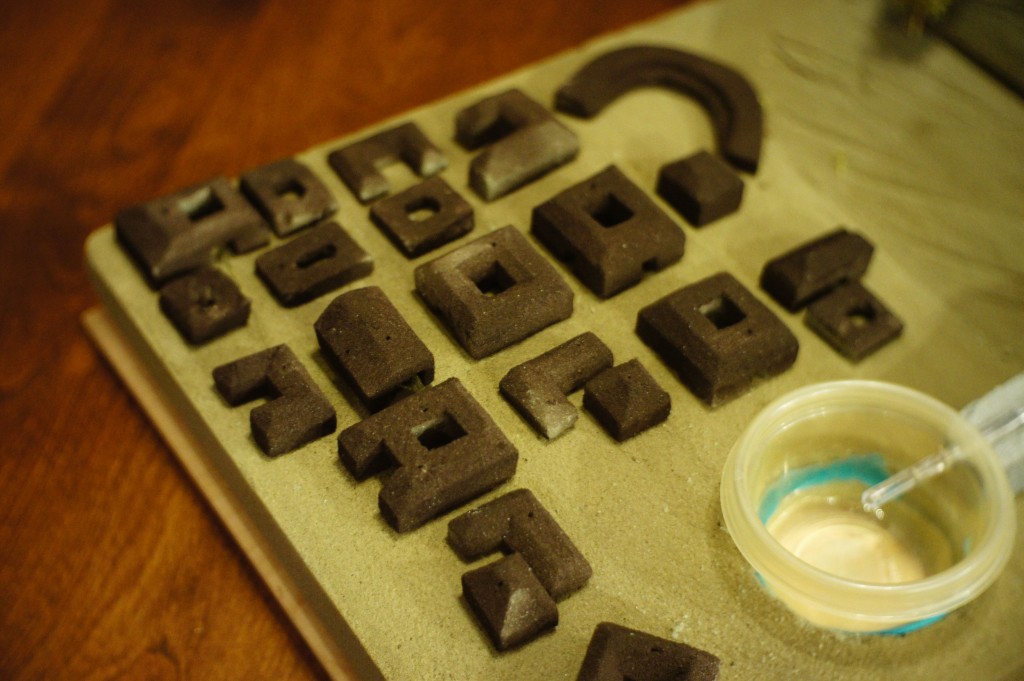
We carved the houses and the aqueduct itself using a set of X-Acto knives. Long runs of bricks, as well as the “Valley” along the top of the aqueduct to hold the tubing, were carved using the hacksaw. This was the most fun and creative portion of the entire build, and we tried to replicate the look of Roman buildings. We painted all of the buildings a contrasting color, and painted the aqueduct light gray.
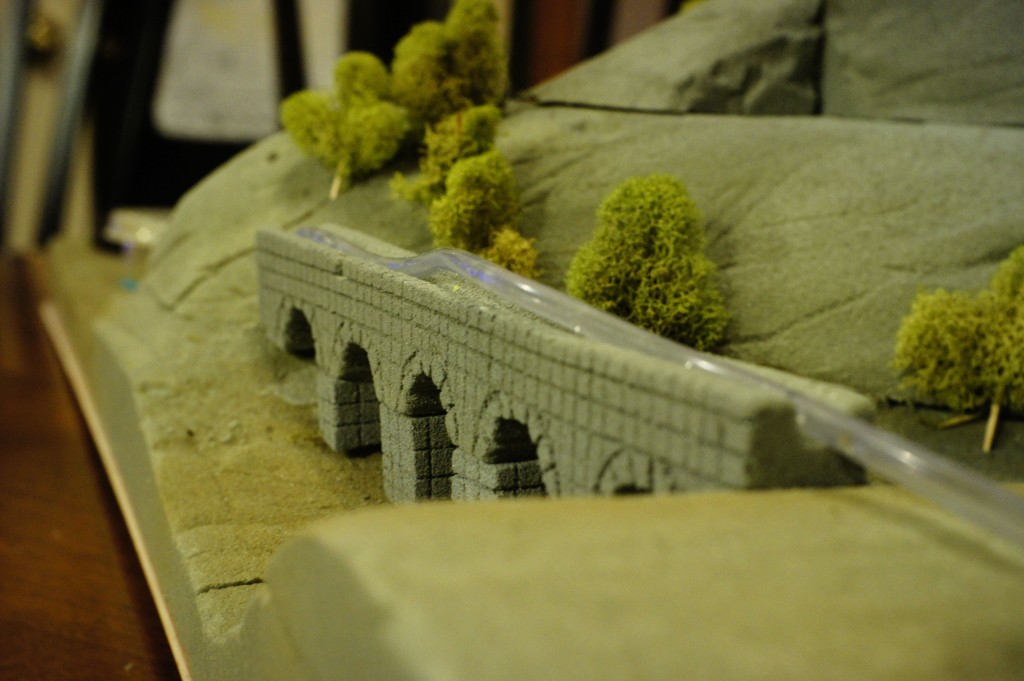
We carefully bored a hole through the mountain for our clear “airline” fish tank tubing to pass through and used a spirit level to make sure that everything had just bit of slope so the water would run smoothly. Using a drill, we cut a hole in each of our plastic cups so the tube would just barely fit in and seal reasonably well. I wish we could have flattened the tubing a little bit more so it would sit nicely along the top of the aqueduct.
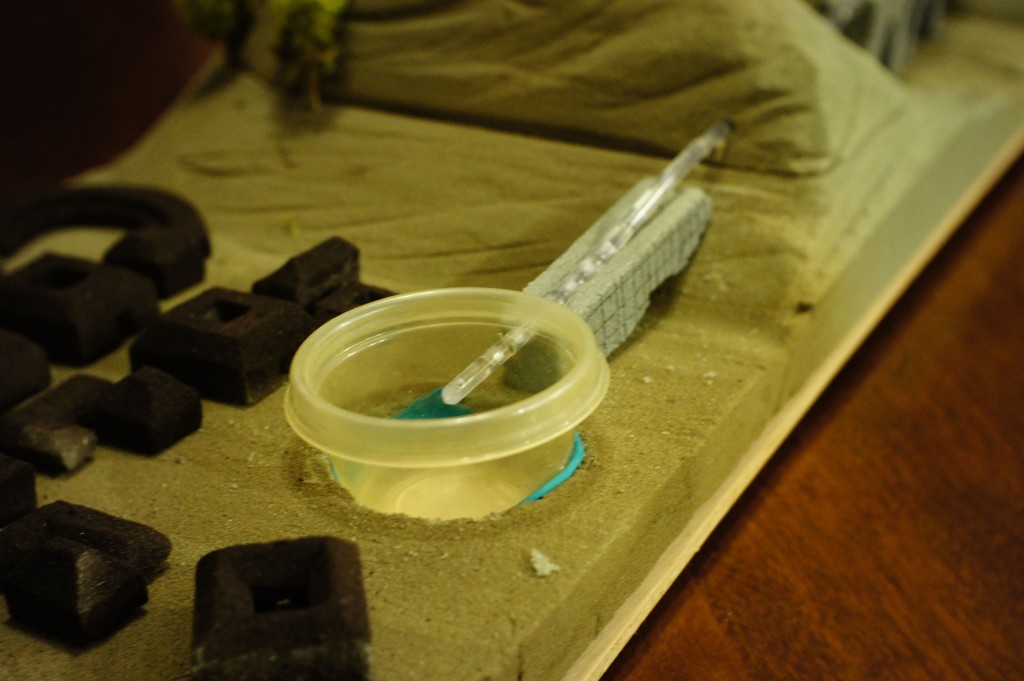
We sealed the cups in place using a bit of clay so they could be pulled out for drainage but would stay in place the rest of the time.
The bottom board was trimmed to size using a circular saw. We punctured it with half-inch staples and then pressed the entire diorama down on it to hold it in place.
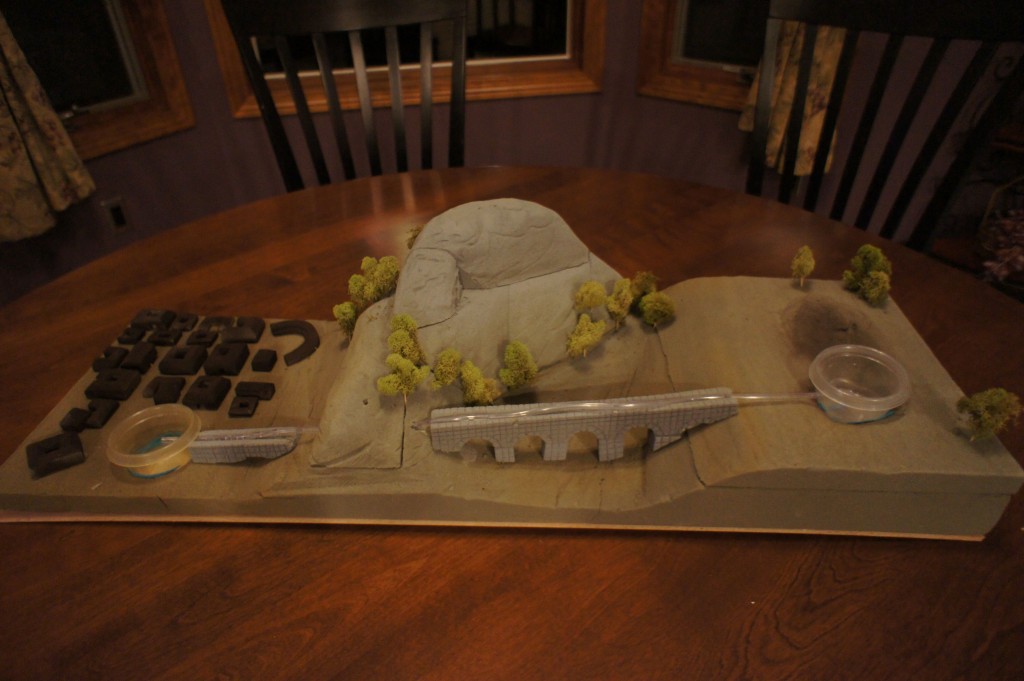
The finished model looks just gorgeous, and the teacher was obviously quite impressed. This same technique could be used for just about any type of outdoor diorama, and is easy enough for young teens to really get their hands dirty and make something beautiful.
This looks way better than any dioramas we ever did with our children. You’ve done a fantastic job. I’m very impressed!
Wow. Very impressive. Nice work.
nice job! You’ve just given me the idea I needed to complete our study of the Roman Empire! Thanks for sharing your inspiration
could you please tell me the amount and specific size and type of material especially the styrofoam im gonna attempt doing this great diorama
Please
very impressive
Thanks for the inspiration. My stepson and I used some of your ideas to build his project.
Two Questions:
How did you construct the model Roman houses? What were they carved out of?
Also, how long did the entire process take?
Also, what is the name of the object that the pipe runs on top of? Is it purchasable?
i gotta do this for a school project. this was actually kinda helpful. Thanks!!!!!
i need to help me plz
Nice
what is the mechanism for the water function?