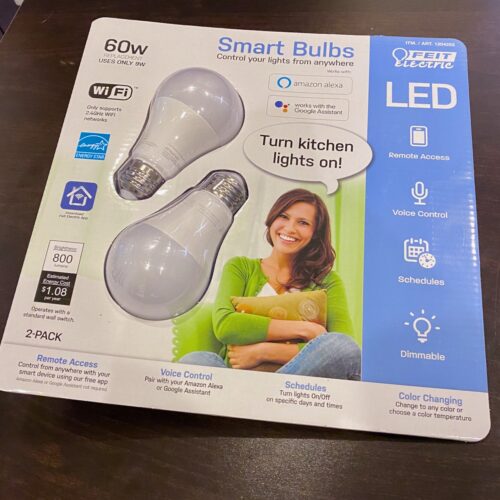
I’m a fan of home automation but not of proprietary platforms. It seems like every few months we hear about another automation platform shutting down just as a new one pops up. My rule for IoT and Home Automation is that it must be a well-supported platform with good open source support or I’m not interested. So the first thing I did when cracking open a package of smart lightbulbs from Costco was to “liberate” them to run Tasmota!
Liberate Your IoT!
IoT and home automation devices suck. Or, more specifically, the companies that sell them suck. I have a big box of old home automation junk, from an outdated X10 kit to a useless DieHard Wi-Fi-enabled car charger to various abandoned products from defunct companies. Some of this is just not useful, but a lot was just never developed beyond the initial barely-working stage.
Nowadays I have a rule when it comes to gadgets: If I’m not at least 90% confident that it will be supported for years to come, I’m not buying.
One way to ensure support is to buy from a company with a good track record. You might not like Apple’s ecosystem, but they’ve done a nice job of supporting old hardware for years. Google, on the other hand, keeps threatening to disable my Nest thermostat and Amazon recently bricked my friend’s Echo Look. And then there are the random no-name companies that never even provided a firmware update and are now defunct.
If I’m not at least 90% confident that it will be supported for years to come, I’m not buying.
Before I buy, I’ll go to their website, look on their Support page, and see just how “supported” their IoT products are. I resisted buying Lowe’s Iris products, even at clearance prices, and boy am I glad! The same is true of the Wink Z-Wave hub.
Nowadays, though, there’s another great way to ensure the longevity of your home automation and IoT gear: Buy something that’s supported by an open source project! I use the Home Assistant platform on a Raspberry Pi with a wide range of Z-Wave and open automation gadgets. And I know all this will work for a long time to come because the community stands behind it.
Tasmota Conquers All
By now, most people are aware of the Raspberry Pi single-board computer, and many people know about the Arduino. But have you learned about the ESP8266 and Tasmota yet? Here’s the story:
About five years ago, a company in China came up with a low-cost microcontroller with Wi-Fi and a variety of I/O pins. The ESP8266 proved to be incredibly cheap and versatile and has shown up in a ton of products since then. And the tinkerer/hacker community has embraced it, from Olimex to Adafruit to the ubiquitous Tuya and Sonoff products. If all this sounds like gibberish to you, let me explain more simply: Most generic Wi-Fi-controlled home automation devices today use the simple ESP8266 microcontroller, and these can run awesome open source software like Tasmota!
Most generic Wi-Fi-controlled home automation devices today use the simple ESP8266 microcontroller, and these can run awesome open source software like Tasmota!
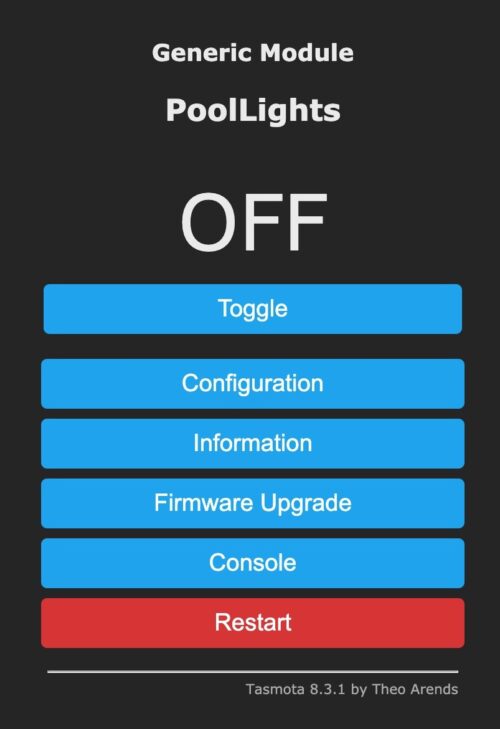
Tasmota is an open source project from Theo Arendst to develop a flexible alternative firmware for ESP8266 devices. It’s focused on supporting a wide range of devices, is well-supported by Home Assistant, and leverages the open MQTT protocol for communication and integration. And it works really well.
One of the nice things about Tasmota is that these devices can operate autonomously: Once you properly configure the device, your outside lights can come on a half hour before sunrise and turn off at 8 AM, for example, even without a hub or app to control them. And all this setup is done in a simple browser-based interface that works with literally any device. But this is compatible with an MQTT controller like Home Assistant as well, so you can also set up custom rules and integrations.
But the best thing about Tasmota is that it works, and will continue to work in an open ecosystem without an app or cloud portal. As long as there is 2.4 GHz Wi-Fi, web browsers, and MQTT it will work. There’s no need to hope that Feit or Tuya or Belkin continues to support iOS 14 (or 23!), it’ll keep working as long as the hardware does.
Liberate a Costco Feit Wi-Fi Smart Bulb
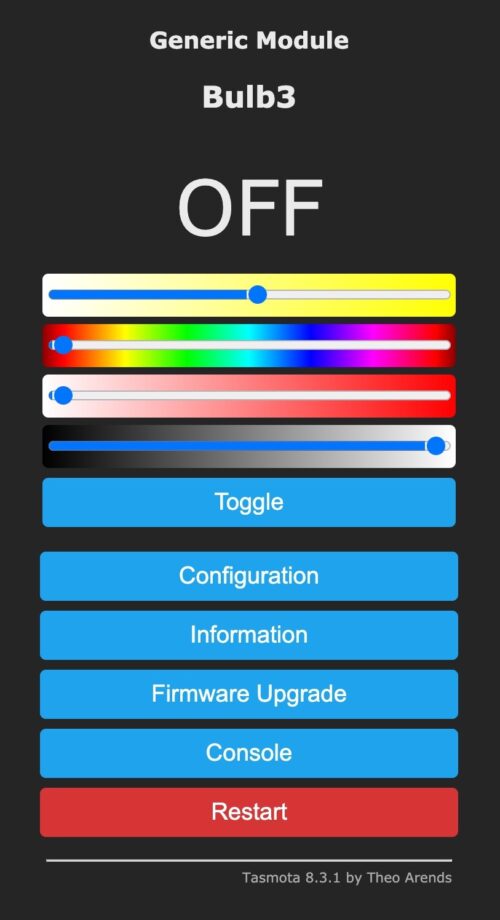
Costco sells a variety of home automation devices, from Ring cameras to WeMo switches to smart lightbulbs from Feit. These are often quite cheap too, with the Feit 60W bulbs currently priced at under $18 for two! But the best news is that these are supported by Tasmota and work perfectly!
Let’s walk through the process of “liberating” a Costco Feit Smart Bulb.
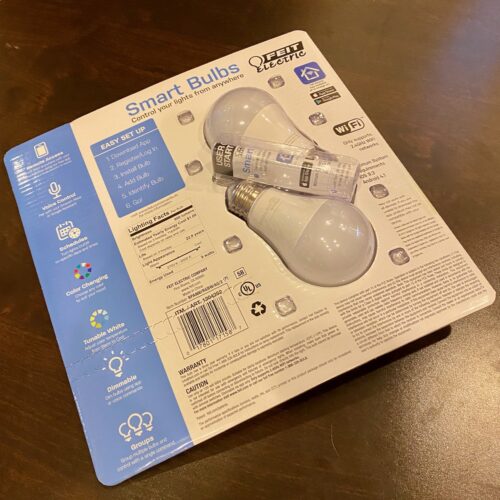
Note that there are two slightly different models for sale as of 2020, the BPA800/RGBW/AG/2 and BPA800/RGBW/AG/2(P). Both are supported by Tasmota but use slightly different templates. I found a pack of each in the same box at my local Costco so look closely and use the right template.
We’re going to use the awesome Tuya-Convert software to install Tasmota over the air. It’s a painless process and requires very little effort
Before even opening the package, grab a Raspberry Pi and install the latest Raspbian/Raspberry Pi OS on it. Check out the Tuya-Connect GitHub page for details, but here’s the quick and dirty:
# git clone https://github.com/ct-Open-Source/tuya-convert
# cd tuya-convert
# ./install_prereq.sh
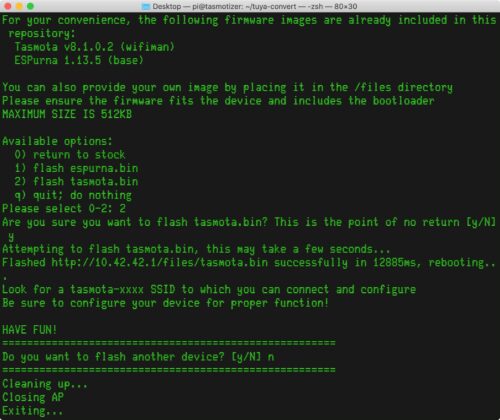
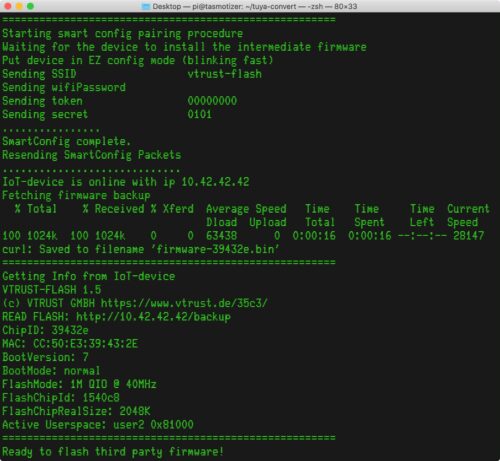
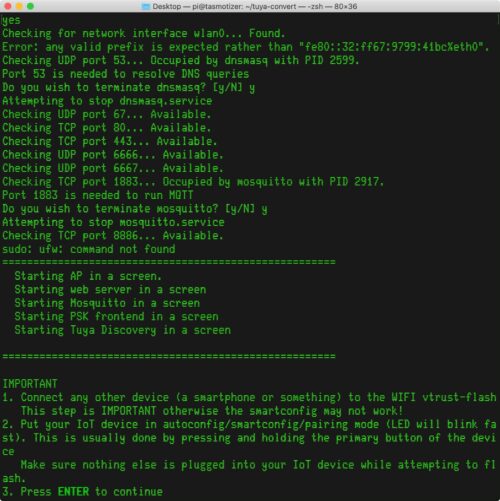
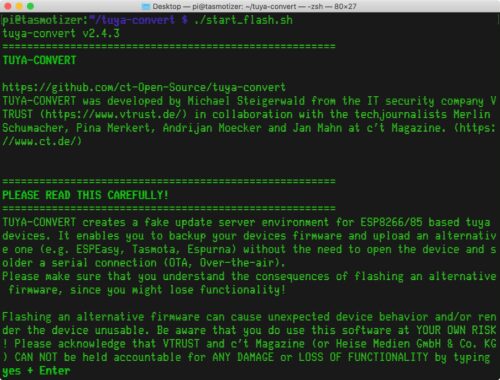
# ./start_flash.shYou’ll see just how easy the process is in the screen shots above, with the only gotcha being the need to associate some other device (I suggest a phone) to the Wi-Fi hotspot to make sure the Tuya device sees it. Tuya-Convert even comes with a Tasmota image to start off with!
Once the bulb has been flashed, it’s time to configure it for your network. It will start a hotspot called “tasmota-xxxx”, which you’ll connect to using any device with a browser. This will launch a captive portal to configure the device’s Wi-Fi to associate with your network. Then the bulb will restart and join your Wi-Fi network instead of starting its own.
Next, locate the device’s DHCP address and go there using a web browser. Click “Firmware Upgrade” from the main menu and perform an OTA upgrade by clicking “Start upgrade.” The device will reset and about 1 minute later will be running the latest version of Tasmota!
The next step is configuring the device. Tasmota uses a “template” to configure the functions of the various GPIO pins. Many of these are listed at the Blakadder site, including for the BPA800/RGBW/AG/2(P) and BPA800/RGBW/AG/2. On a fresh install, you can simply paste the template in on the “Configuration -> Configure Other” page, or you can manually enter it on the “Configure Template” page.
You will also want to enter a few parameters in various spots in the user interface:
- Check “Configuration -> Configure WiFi” for your AP SSID and Password and optionally enter a Hostname.
- Go to “Configuration -> Configure MQTT” and enter your MQTT broker IP address, username, and password. Also set a unique Topic.
- Perhaps enter “Configuration -> Configure Logging” and enable Syslog and enter your Syslog host.
- Go to “Configuration -> Configure Other” and give the device a unique Device Name and Friendly Name 1. Also consider adding a Web Admin Password.
The device will restart when you click “Save” on these screens, but don’t worry – it restarts really quickly!
Next we have to enter a few things on the Console that can’t be configured from the menus. Go to “Console” from the Main Menu and enter the following commands one at a time. These adjust the bulb to disable Gamma, properly set the color slider, and enable auto-discovery in Home Assistant. I like setting “PowerOnState 1” so it will turn on automatically when power is applied like a regular lightbulb.
LedTable 0
SetOption37 54
SetOption19 1
PowerOnState 1
Now we have to set the time so we can properly use Timers. I’m using 192.168.1.1 as my NTP server, but might just use the default. You’ll also want to use your current GMT offset for Timezone as well as your proper Latitude and Longitude for sunrise/sunset support.
ntpServer1 192.168.1.1
timezone -4
latitude 40.594756
longitude -75.116280
Now that all this is done, I recommend backing up the configuration to save some effort if you need to reset the bulb.
Stephen’s Stance
At this point, you’re probably five minutes in from opening the package and have a fully-configured completely-open Wi-Fi smart bulb. Congratulations! You just converted future e-waste to something useful!
Open source projects like Tasmota, Tuya-Convert, and Home Assistant are the key to reliable, supported, long-lasting, and useful IoT devices. It’s all about open source, open protocols, and ownership.
I read your post with great interest but am a little confused. Will doing this convert operation apply the conversion to all tuya devices on the network? Can I limit the scope of the conversion to just one device?